10.1Create your Google Sheet to collect results - 🧑🏫🏫
To collect the data, you can simply use a Google Sheet. In a later version, a small Flask server could be used, but it would need to be deployed somewhere. For now, a Google Sheet version is functional and easy to implement.
10.1.1The simplest of the simplest...
10.1.2Manual preparation
1 - Create a Google Sheet using your account
2 - On the first line of the first sheet, insert the following data, which will serve as the header for your table:
timestamp send_timestamp notebook_id student quiz_title event_type parameters answers score
Figure 34:First row of the sheet.
3 - Create a new sheet by pressing
+and rename it Config (by CTRL + clicking on the corresponding tab).

Figure 35:Creation of the Config sheet.
4 - In the
Configsheet, create the following data
Pwd Data reception
Wrktz TRUE
NMAX  NKEEP
2000  2500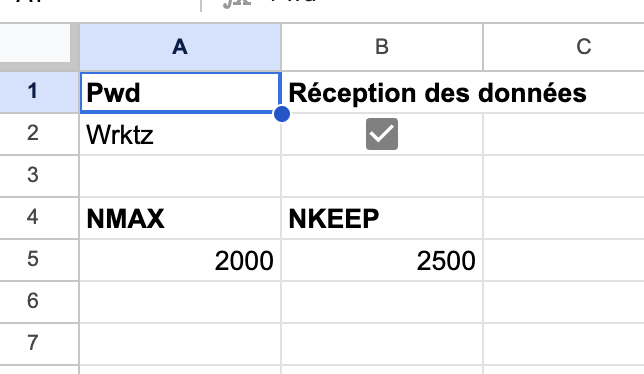
Figure 36:Data from the Config sheet.
👉🏼 Pwd is the key that will be used to check the correct connection with the sheet and participate in the encryption of the question file. Change the value of the key in A2 and keep it in mind.
NKEEP is the maximum number of rows kept in the sheet. Thresholding occurs as soon as the number of rows exceeds NMAX.
👉🏼 In the Config sheet, select cell B2. Go to the Data menu and select Data Validation. Then, in Data Validation Rule, select Checkbox. Make sure the box is checked, otherwise you will not receive anything!
⚠️ And so to stop receiving data, uncheck! --> This can be useful because some people leave things running on their computers, and since there is a check_alive integrity check sent periodically, this can fill up the Google Sheet (even though we have set a maximum limit).
5 - In the
Extensionsmenu, click onApps Script. In the tab that opens, name your project, then in the code page, after deleting what is there, paste the code attached in the code_gs.txt file (extrasfolder) and replace the value ofSECRETon the first line. If your first sheet is not calledFeuille 1, rename it or change the constantSHEET1on the third line of the code.
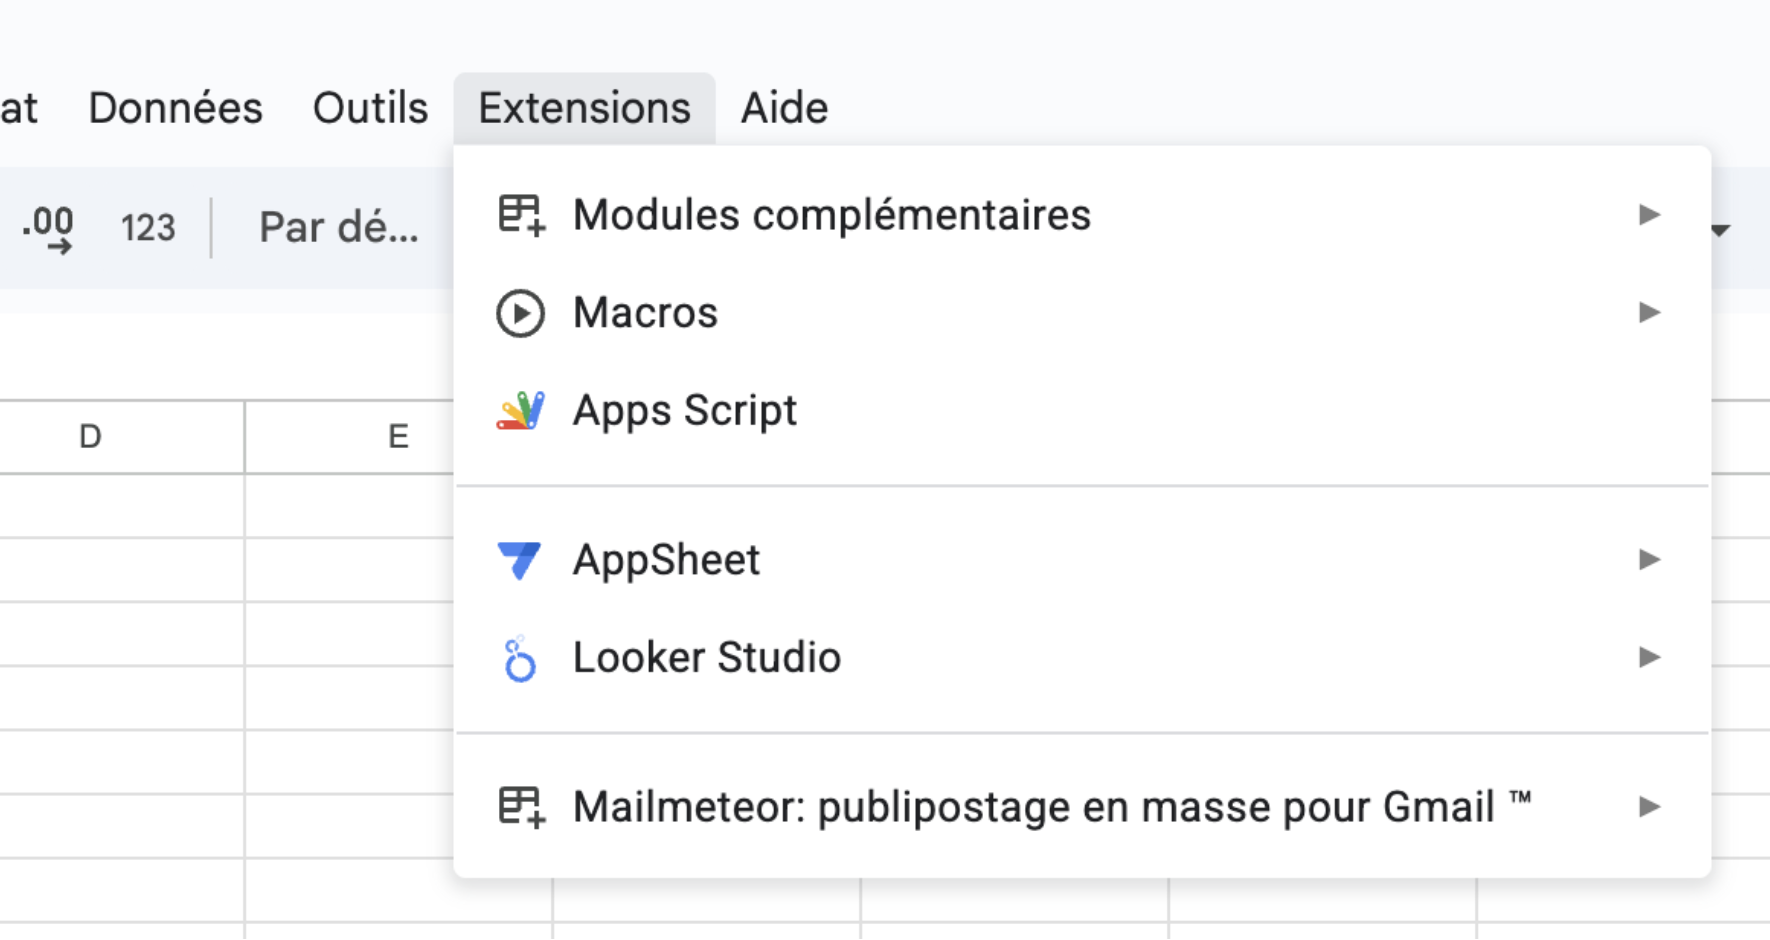
Figure 37:Create the extension to enter the Google Script code.
6 - At the top right, click on
DeploythenNew deployment, choose theWeb applicationtype, share with everyone, copy the linkhttps: //script.google.com/.... This is the URL you will use later (to share with students and to read the collected data). You can find this address by going to “Manage your deployments.” 🎉 Save and you’re done!
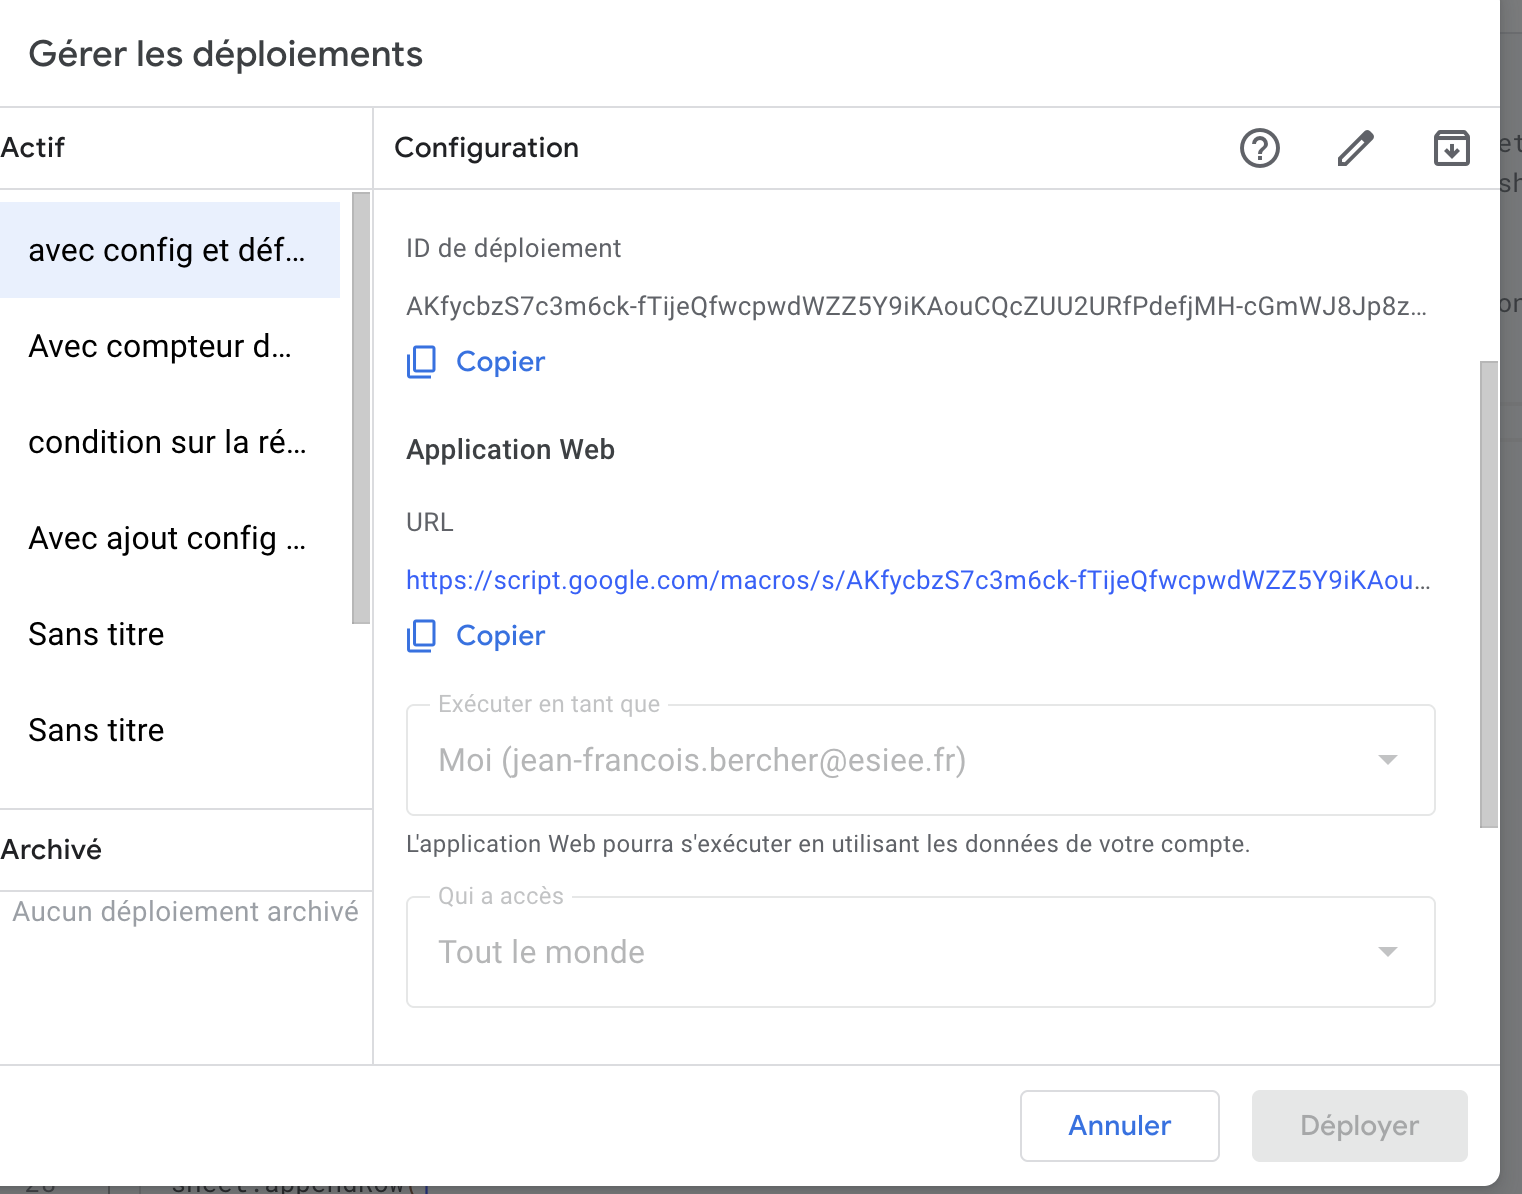
Figure 38:Deploy!